Intro
Many people start designing a bucket hat by choosing a favourite reference style. But once they begin pattern making, they realise that even with the same bucket hat, a slight difference in brim width, depth, or fabric can completely alter the final look. As a hat designer, I typically consider these six dimensions first.
(1) Brim width – sets the overall silhouette
- Narrow (<=5 cm) – lighter look, more streetwear / sporty vibe.
- Medium (6-8 cm) – balanced, works well for daily wear, commuting, or casual outings.
- Wide (>=8 cm) – more sun protection, stronger visual presence, great for vacations, outdoor activities, or a relaxed style.
You can also play with front-to-back width differences and curved edges to fine-tune the shape.
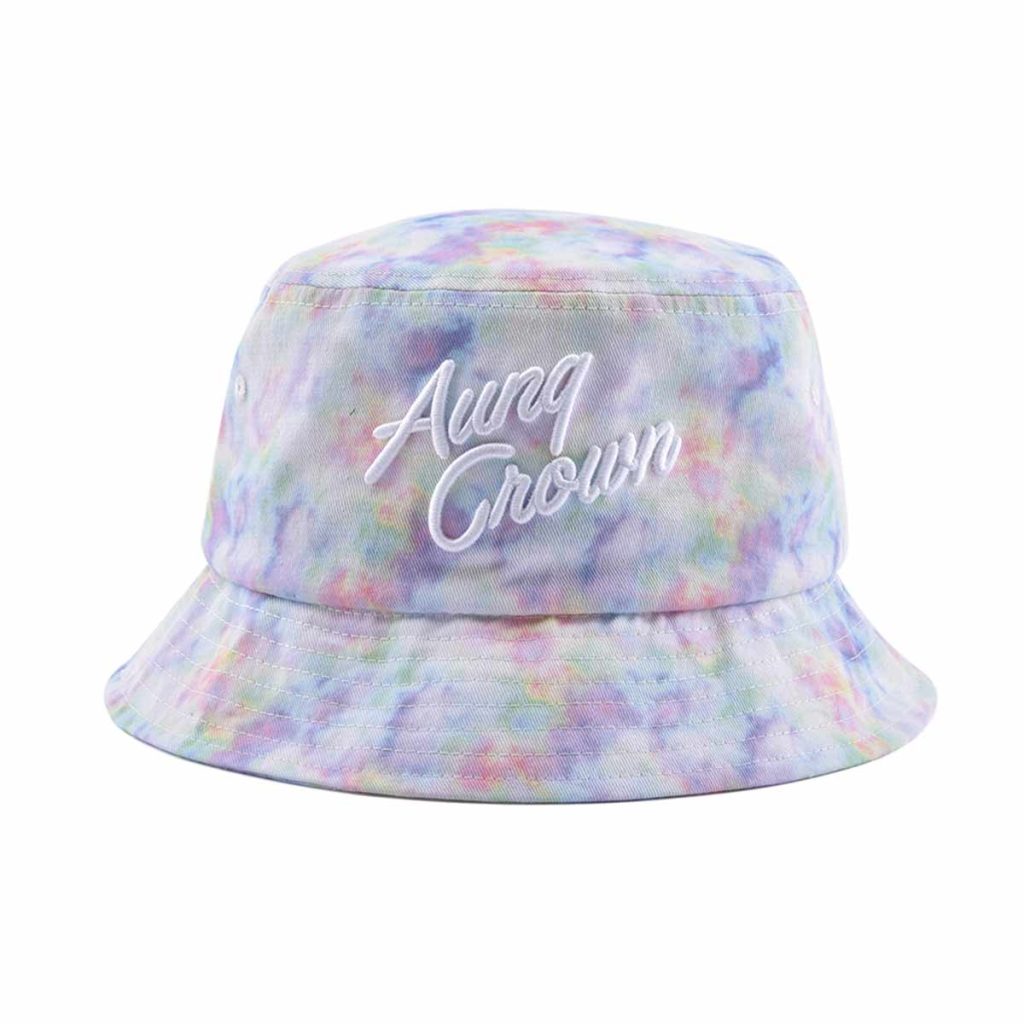
(2) Brim angle – defines the attitude
Even with the same 7 cm width:
- A flat brim looks crisp and sharp.
- A natural droop feels softer and more gentle.
- A slight upward tilt gives a lighter, more styled appearance.
When you study a reference hat, don’t just measure the width – check the angle too.
(3) Crown depth – affects face shape and wearing proportion
- Shallow crown – feels light and youthful, good for casual designs.
- Deeper crown – gives more wrap and a more stable overall shape.
In pattern-making, I always adjust crown depth together with brim width and head circumference – they work as a set.
(4) Crown shape – defines “what the hat looks like”
Round, flat, slightly tall, or naturally slouchy – these are different pattern languages.
The same design can change its whole character just by altering the crown proportion. That’s why it’s best to have a physical sample to see the 3D silhouette directly.
(5) Brim-to-crown proportion – look at them together
This is often overlooked in sketches.
If you make the brim very wide but keep the crown very shallow, the result can look unbalanced.
Brim width, crown depth, and crown height are a complete set of proportional relationships – they must be adjusted as one system.
(6) Fabric stiffness – determines the final shape
With the same pattern:
- Softer fabric gives a more natural, relaxed drape.
- Stiffer fabric keeps a clearer outline and helps the brim hold its shape.
In the design phase, you need to consider fabric weight, weave structure, finishing, and brim-stiffening methods all together.
A real-world example (to make this clearer)
Let’s say you use a soft, drapey velvet fabric. If you apply a standard 7 cm flat-brim pattern, the brim will sag under its own weight and may even block the wearer’s vision. The drawing looks fine, but the actual hat fails.
The fix? Reduce the brim to 5 cm and give it a slight upward angle – this creates tension that helps the brim “stand up” without changing the fabric. This is why I always say: fabric and pattern must be considered together, never in isolation.
My focus when designing a bucket hat
- What silhouette do we want?
- What wearing effect?
- What usage scenario?
- What final texture and feel?
Once these are clear, adjusting the pattern, fabric, and construction becomes much faster, and sample revisions drop significantly.
If you’re developing your own bucket hat, lock down these 6 dimensions first – then dive into the details. It will save you a ton of later rework.
I’m Kailyn, the founder of Aung Crown. I’ve spent over a decade “in the trenches” of the hat and clothing trade, learning exactly what it takes to make a product stand out. I’m a bit of a perfectionist when it comes to design and quality, but that’s because I care about your brand’s success as much as you do. Whether you need production advice or post-sales support, I’ve got you covered every step of the way.