Intro
Socks – yes, socks! We wear them every day, but you might not know how they are actually made. Today, let “Sock” itself take you through the whole production process, so you can get a fuller and deeper understanding of this close companion.
Step 1: Material Selection
Good materials make good socks.
With advances in technology and higher living standards, sock materials have become more diverse. They are no longer just for warmth or covering – they also need to be comfortable and healthy. Common materials fall into three categories:

- Main materials (the “framework” of a house): Natural fibers (cotton, linen, wool, silk), regenerated cellulose fibers (Tencel, modal, bamboo fiber, soy fiber, pearl fiber, milk fiber, etc.), and synthetic fibers (nylon, polyester, etc.). These form the main body of the sock.
- Secondary materials (the “walls”): Elastic fibers, such as spandex (Lycra). They make the sock fit closely around the foot and prevent slipping.
- Auxiliary materials (the “decorations”): Elastic bands (to tighten the cuff and stop it from sagging) and jacquard yarns (to create beautiful patterns, usually made of high‑elastic yarn, nylon, or cotton).
Quick tip: Most socks are dyed before they are woven – the yarn is colored first according to the design, then knitted. This is called “dyeing before weaving,” and it helps the colors stay brighter and more durable.
Step 2: Knitting
After selecting the materials, we move to the core step – knitting.
When socks first come off the knitting machine, they are usually in a tubular, circular shape – much like the round tubes your mom might have knitted with needles, where one continuous thread spirals upward to form a long cylinder. One end is the cuff (with an elastic band inside), and the other end is the toe (which, after later stitching, will wrap around your toes).
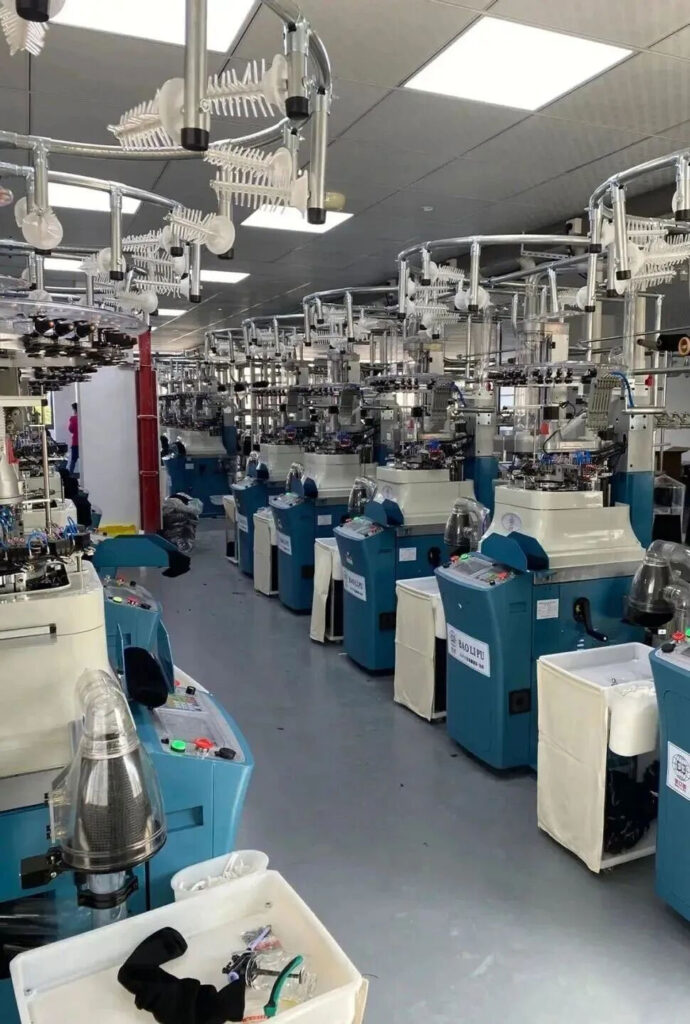
This step depends not only on machines but also on skilled workers. A good knitting machine operator must complete 3 months of training before starting an internship, then work under an experienced mentor for another 3 months before they can operate alone. It often takes 1‑2 years of hands‑on experience to become truly excellent. A skilled operator not only saves energy and reduces waste, but also spots and adjusts process flaws during daily work, preventing defective products from moving to the next stage.
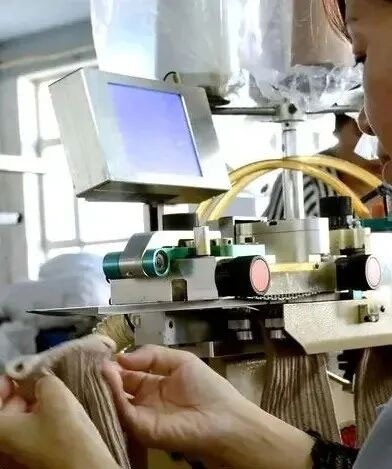
Extra note: There is also a “seamless” or “one‑piece” knitting technology that produces a complete sock shape directly, skipping the sewing step. However, traditional circular knitting is still the mainstream method for large‑scale production.
Step 3: Seaming (Closing the Toe)
Once the tubular blank socks reach the seaming stage, there are two common methods, depending on the product quality target:
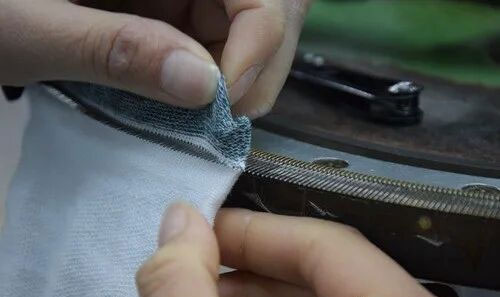
1. Hand‑linked seaming (also called “hand‑linked toe closing” or “no‑feel seam”)
Workers manually place each stitch of the toe onto a circular needle plate, one by one, and then sew them together. Each needle eye must hold exactly one thread – no mismatching allowed.
- Advantages: The toe area has no raised seam, is smooth and flat, and feels very comfortable to wear.
- Disadvantages: Lower output, higher cost, and longer delivery time for large orders.
2. Machine seaming
Workers feed the toe part into a sewing machine, which automatically stitches it.
- Advantages: Fast seaming speed, suitable for mass production, short lead times.
- Disadvantages: The toe has an obvious raised ridge that is less smooth than hand‑sewn toes. Some people with sensitive skin may feel discomfort (“bumpy toe”).
Nowadays, there are also “imitation hand‑linked” machines that try to balance speed and comfort – a good cost‑effective choice.
Step 4: Inspection
After seaming, the socks go through a thorough professional inspection.
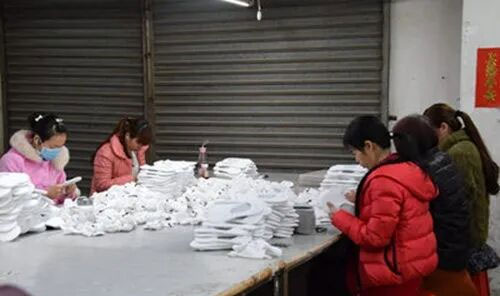
The reason we inspect at this point is that knitting and seaming are where most defects happen – the later steps (shaping and packaging) rarely create visible flaws. Placing the inspection here helps catch bad products early, improves the final pass rate, and avoids wasting capacity on downstream processes.
The main inspection method is “boarding” – pulling each sock over a standard‑sized metal or plastic board (a “leg form”) and rotating it 360 degrees to check for surface defects: dropped stitches, holes, oil stains, color differences, etc. At the same time, inspectors verify that the size meets the required standards.
Defective socks are sent directly to the waste warehouse, while qualified ones move on to the next step – shaping.
Step 5: Shaping (Setting the Shape)
Shaping is the key step that gives the sock its final form.
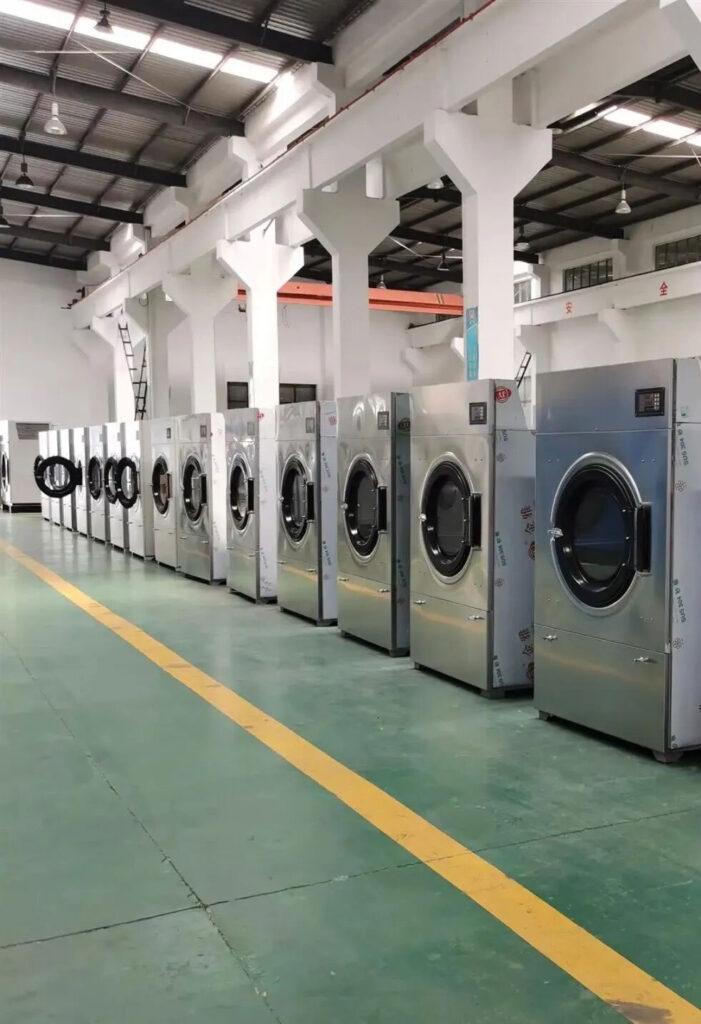
Workers pull the sewn socks onto metal leg forms of different sizes, then place them into a shaping machine. High‑temperature steam (usually at about 2 atmospheres of pressure) and heat cause the elastic fibers inside to shrink, while the steam ironing smooths out wrinkles and fluffs. After that, the socks go through drying and cooling to “fix” the shape.
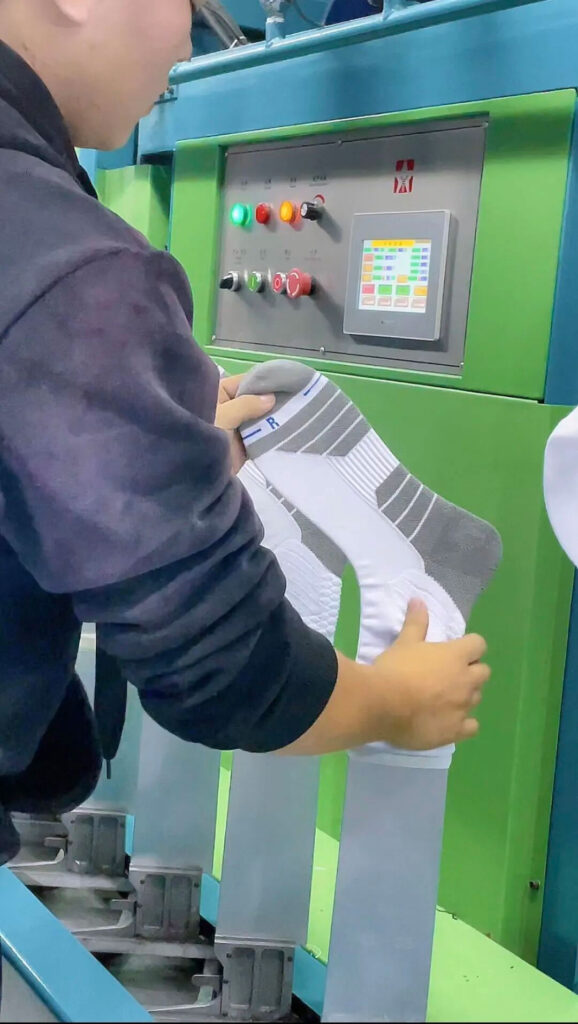
Key parameters: Besides steam pressure, shaping also heavily depends on temperature (typically over 100°C, adjusted for different fiber types) and time (usually from a few tens of seconds to a few minutes). Too low a temperature won’t set the shape; too high can damage the fibers.
After shaping, the socks look neat, crisp, and fit the foot nicely – just like the ones you see on store shelves.
Step 6: Packaging
“Clothes make the man, and packaging makes the product.” Good socks deserve good packaging.
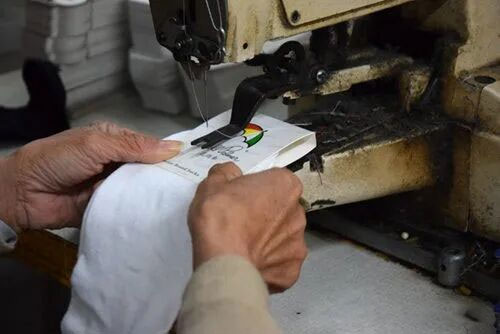
Before packing, there is a pairing step:
- Each sock is inspected one last time for surface flaws.
- Two socks of the same length and exactly the same color (color matching) are paired together.
- Then, according to product requirements, labels, hang tags, stickers, and other accessories are attached.
Finally, the paired socks are folded, bagged, and boxed as required. And that’s it – a beautiful, comfortable, quality‑controlled sock is ready to travel to your feet!
Summary of the Whole Process
| Step | Process Name | Key Points |
|---|---|---|
| 1 | Material Selection | Main materials + elastic fibers + auxiliaries (elastic bands/jacquard yarns); dye yarn before weaving |
| 2 | Knitting | Circular tubular knitting; relies on machines + skilled operators |
| 3 | Seaming | Hand‑linked (comfortable) vs. machine seaming (efficient) |
| 4 | Inspection | Boarding and 360° inspection to catch defects |
| 5 | Shaping | High‑temperature, high‑pressure steam + cooling to fix the shape |
| 6 | Packaging | Pairing, color matching, labeling, bagging, and boxing |
Now you know a little more about your socks, don’t you?

I’m Kailyn, the founder of Aung Crown. I’ve spent over a decade “in the trenches” of the hat and clothing trade, learning exactly what it takes to make a product stand out. I’m a bit of a perfectionist when it comes to design and quality, but that’s because I care about your brand’s success as much as you do. Whether you need production advice or post-sales support, I’ve got you covered every step of the way.