A client sent me a design the other day. The logo covered almost half of the hat body, and they asked if embroidery would work.
Of course it can!
But we don’t usually say yes or no right away. Instead, we first ask:
How many pieces are you making?
Any distressed finish?
What’s your budget?
Choose the wrong process, and the final look and cost can be very different.

Cost Comparison
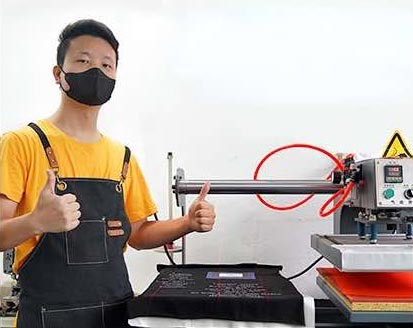
Many people think embroidery is more premium, so they just go with embroidery for a big logo. But when it comes to actual sampling, we often recommend a different process based on the design.
Let’s talk about cost first.
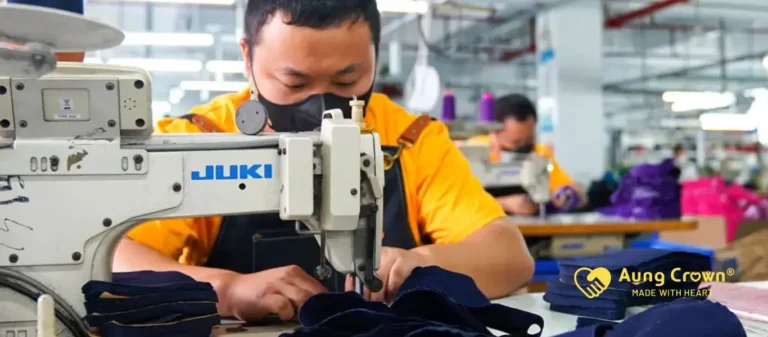
For a full-coverage large logo, embroidery costs usually go up significantly. The bigger the design, the more stitches, the longer the machine runs, and the higher the cost. For example: a complex illustrated logo 10cm in diameter can easily exceed 80,000 stitches. The machine time alone can be tens of minutes, and the price can multiply several times. Plus, after heavy embroidery, the hat body becomes thicker, stiffer, and heavier. The feel when wearing it is quite different from a regular baseball cap.
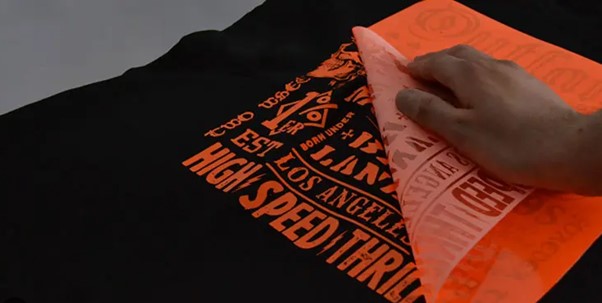
Heat transfer, on the other hand, has an advantage with large-area designs, especially those with rich colors, gradients, and fine details – the cost of heat transfer barely increases with design complexity, so the overall expense is often easier to control.
Design Type Matters
Now look at the design itself.
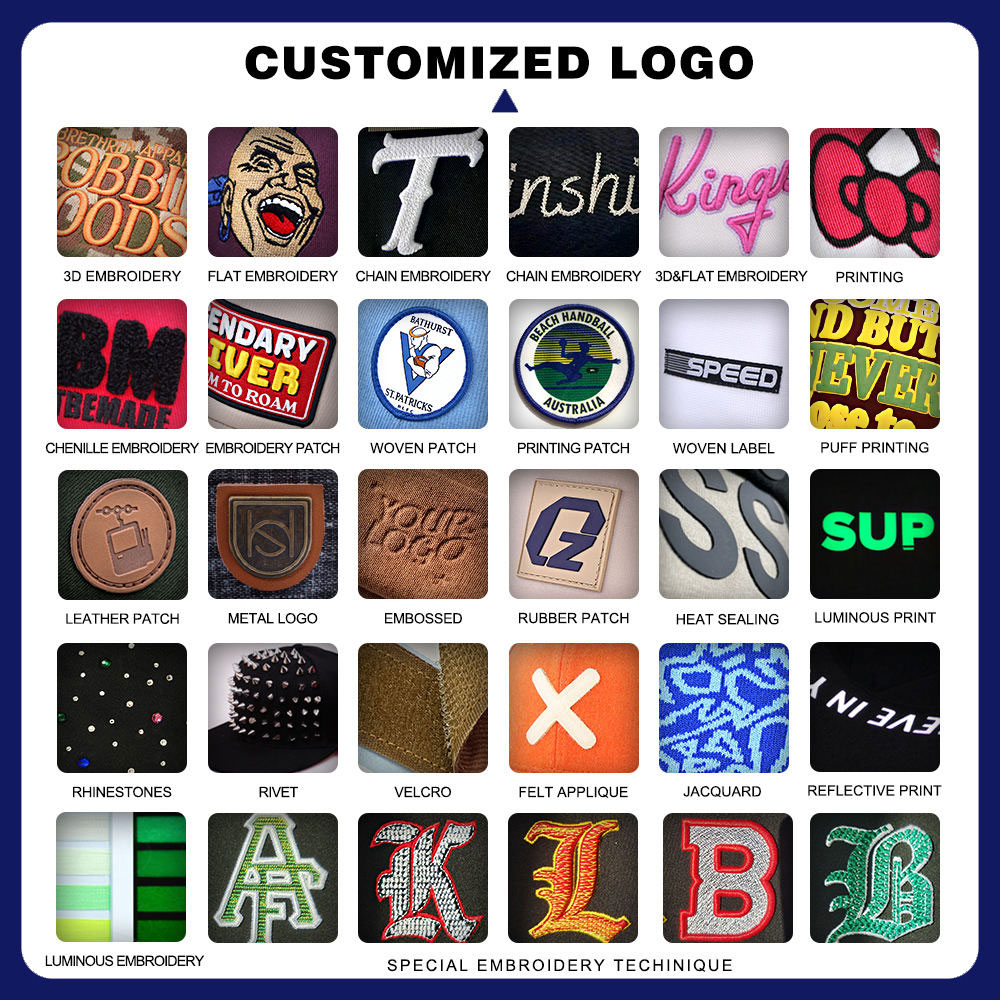
If it’s a brand logo, letters, or simple lines, embroidery gives good layering and looks premium up close.
If it’s a portrait, illustration, photo, or gradient color, heat transfer can reproduce the original artwork much more faithfully, with smooth color transitions and no loss of detail.
We see this difference every time we make samples.
Durability and Special Finishes
You might ask: which one is more durable?
Both processes hold up well for normal daily wear. But there are nuances: embroidery threads are more resistant to washing and stay secure after many washes, though they can snag on sharp objects. Heat transfer looks perfect initially, but on light-colored fabrics, you need to be careful with high-temperature ironing, or the print may change color.
If there are additional processes like washing, distressing, or heat-setting, we always discuss with the client beforehand before finalizing the plan.
The Hidden Gem: Applique Embroidery
One more technique that many people overlook: applique embroidery.
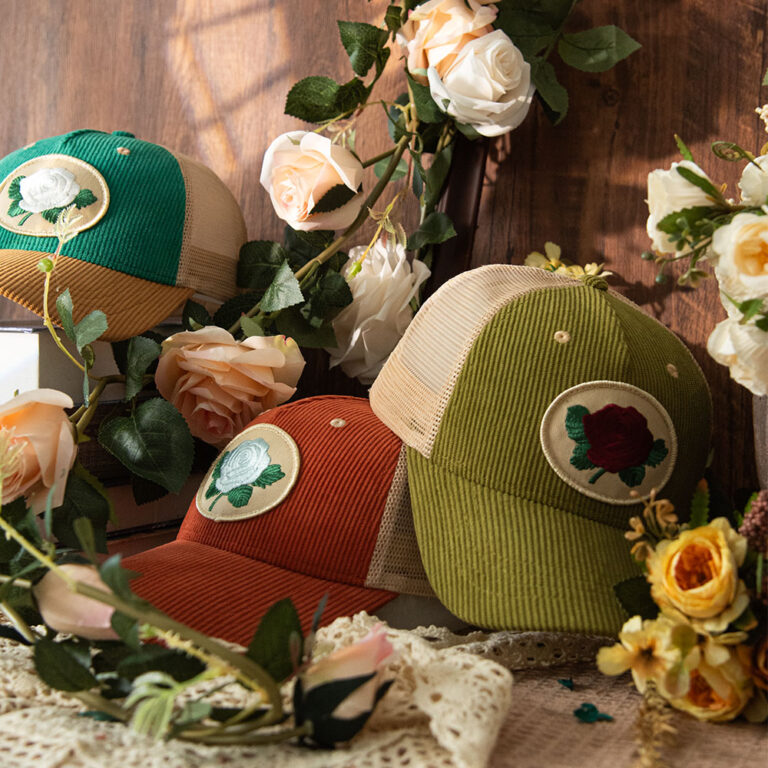
For large logos, applique is very common on branded hats. The logo is first cut from fabric, then attached to the hat body with satin stitching or embroidery. The overall weight is lighter than full embroidery, and the layering effect is richer. You can also pair it with different materials like denim, wool, corduroy, or leather – it instantly upgrades the texture.
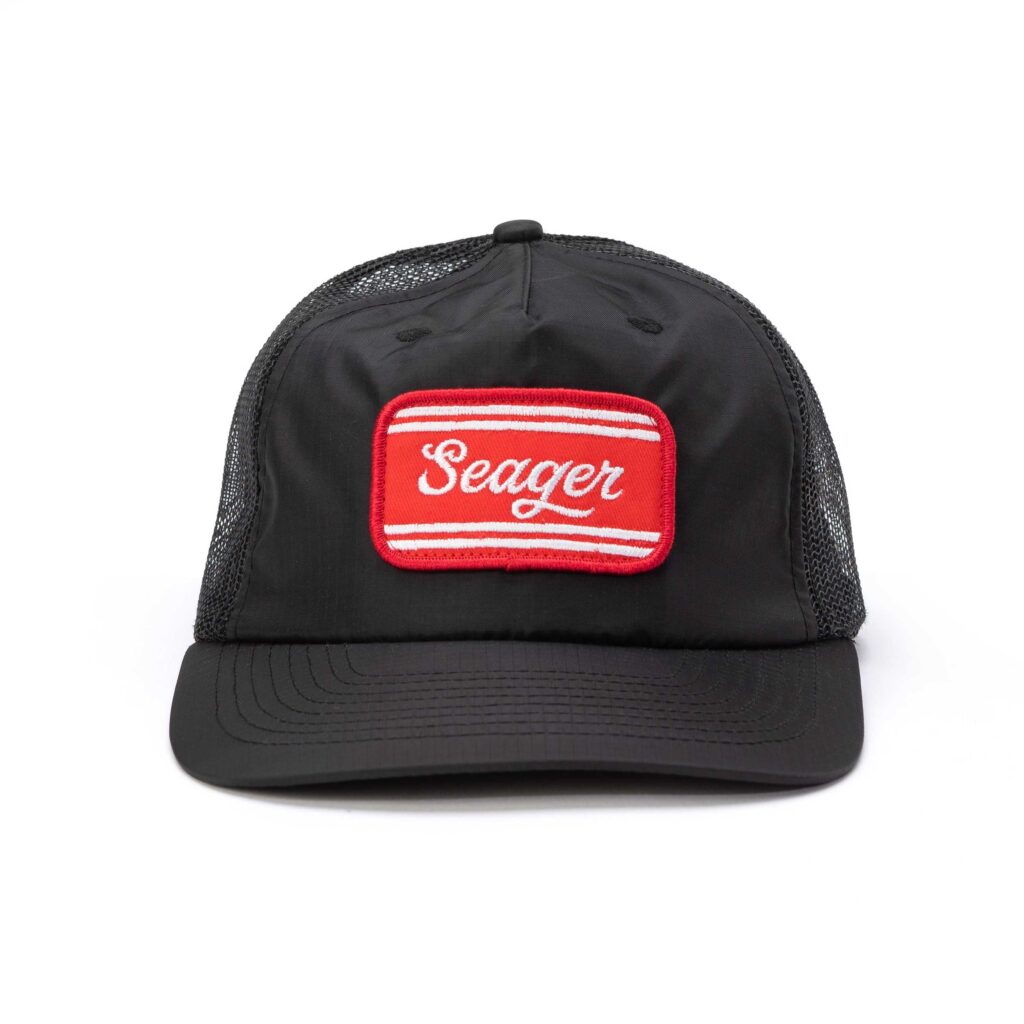
If the logo nearly covers the whole hat, we usually include applique as an option alongside other processes, so the client can compare and decide.
Final Recommendation
Over the years, we rarely push one single process, because every logo has its own character. By considering the design, budget, quantity, and usage scenario together, the final choice is usually the best fit.
If you’re still hesitating about which process to use for a large-area logo, feel free to send us your design. We can make two sample pieces with different processes for you to compare – free of charge. Once you see and touch the actual samples, you’ll know exactly which one works for you.
After all, seeing is believing. What do you say?

I’m Kailyn, the founder of Aung Crown. I’ve spent over a decade “in the trenches” of the hat and clothing trade, learning exactly what it takes to make a product stand out. I’m a bit of a perfectionist when it comes to design and quality, but that’s because I care about your brand’s success as much as you do. Whether you need production advice or post-sales support, I’ve got you covered every step of the way.