Intro
A first-time hat client asked for 3D embroidery, thinking it looks more premium. But when we got their logo, we didn’t jump straight to the process – we analyzed the logo first.
A Real Case Study
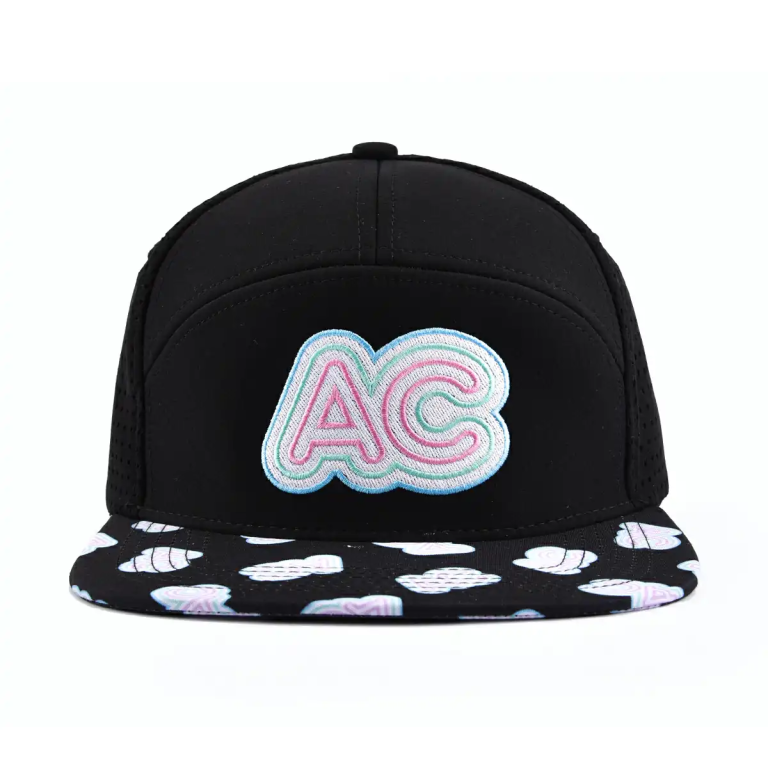
We recently worked with an original clothing brand. Their logo was a set of English letters, about 18mm tall. They gave us a reference hat with 3D embroidery and wanted the same effect.
But we spotted a problem right away:
- Letter strokes were only about 1.5–2mm wide.
- Letters like R, P, and O had small enclosed spaces and lots of sharp corners.
We recommended flat embroidery. The client still wanted to see a 3D sample, so we made the first version.
Why 3D Embroidery Isn’t for Every Logo
3D embroidery isn’t just “thicker stitching.” It uses a layer of EVA foam under the threads, then dense stitches wrap around the foam completely.

For thin, detailed logos, this often causes:
- Edges become rounded – sharp corners disappear.
- Enclosed areas (like in O, R, P) shrink, making the letters look stuffy.
- Foam shows through in spots where stitching doesn’t cover well.
- Stitches pile up at corners, reducing overall crispness.
When the client saw the sample, they agreed – it had dimension, but the logo lost its original refinement.
The Fix: A Mixed Approach
For the second sample, we split the logo:
✔ Thicker main letters – kept as 3D embroidery.
✔ Inner details and closed spaces – switched to flat embroidery.
✔ Adjusted stitch directions on outlines – made edges cleaner.
The result? The logo kept both depth and fine details. The client approved it. This hybrid method is actually common for many branded hats.
Which Logos Are Born for 3D?
Classic logos like NY or LA share these traits:
Wide strokes, plenty of breathing room, few corners, clear outlines.
These shapes easily wrap around foam, giving a full, bold 3D look.
But many original brand logos – thin fonts, handwriting, illustrations, connected cursive – are much harder to do in 3D. Flat embroidery often delivers a better result.
4 Key Checks Before Deciding From Aung Crown
① Minimum stroke width – under about 2.5mm, 3D risks go up.
② Enclosed space size – tighter spaces in A, R, P, O mean more chance of clogging.
③ Number of corners – more corners = more stitch build-up = less clean edges.
④ Stitch direction planning – good directions boost dimension and reduce breakage or foam exposure.
The Real Takeaway
Many people think 3D = high-end. But on a hat, the real quality comes from matching the logo to the right process.
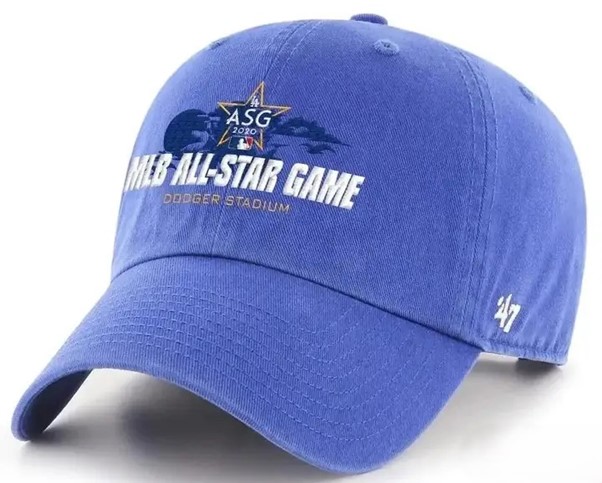
Great craftsmanship shows in the details clients never see – like digitizing, stitch mapping, foam thickness choices, and refining after every sample.
- When flat works best – perfect every detail.
- When 3D works best – make the layers pop.
That’s what truly gives a hat its value – not chasing one process, but choosing what fits.

I’m Kailyn, the founder of Aung Crown. I’ve spent over a decade “in the trenches” of the hat and clothing trade, learning exactly what it takes to make a product stand out. I’m a bit of a perfectionist when it comes to design and quality, but that’s because I care about your brand’s success as much as you do. Whether you need production advice or post-sales support, I’ve got you covered every step of the way.